Arm PIDF Control with Gravity Feedforward, Java Example (REV Control Hub)
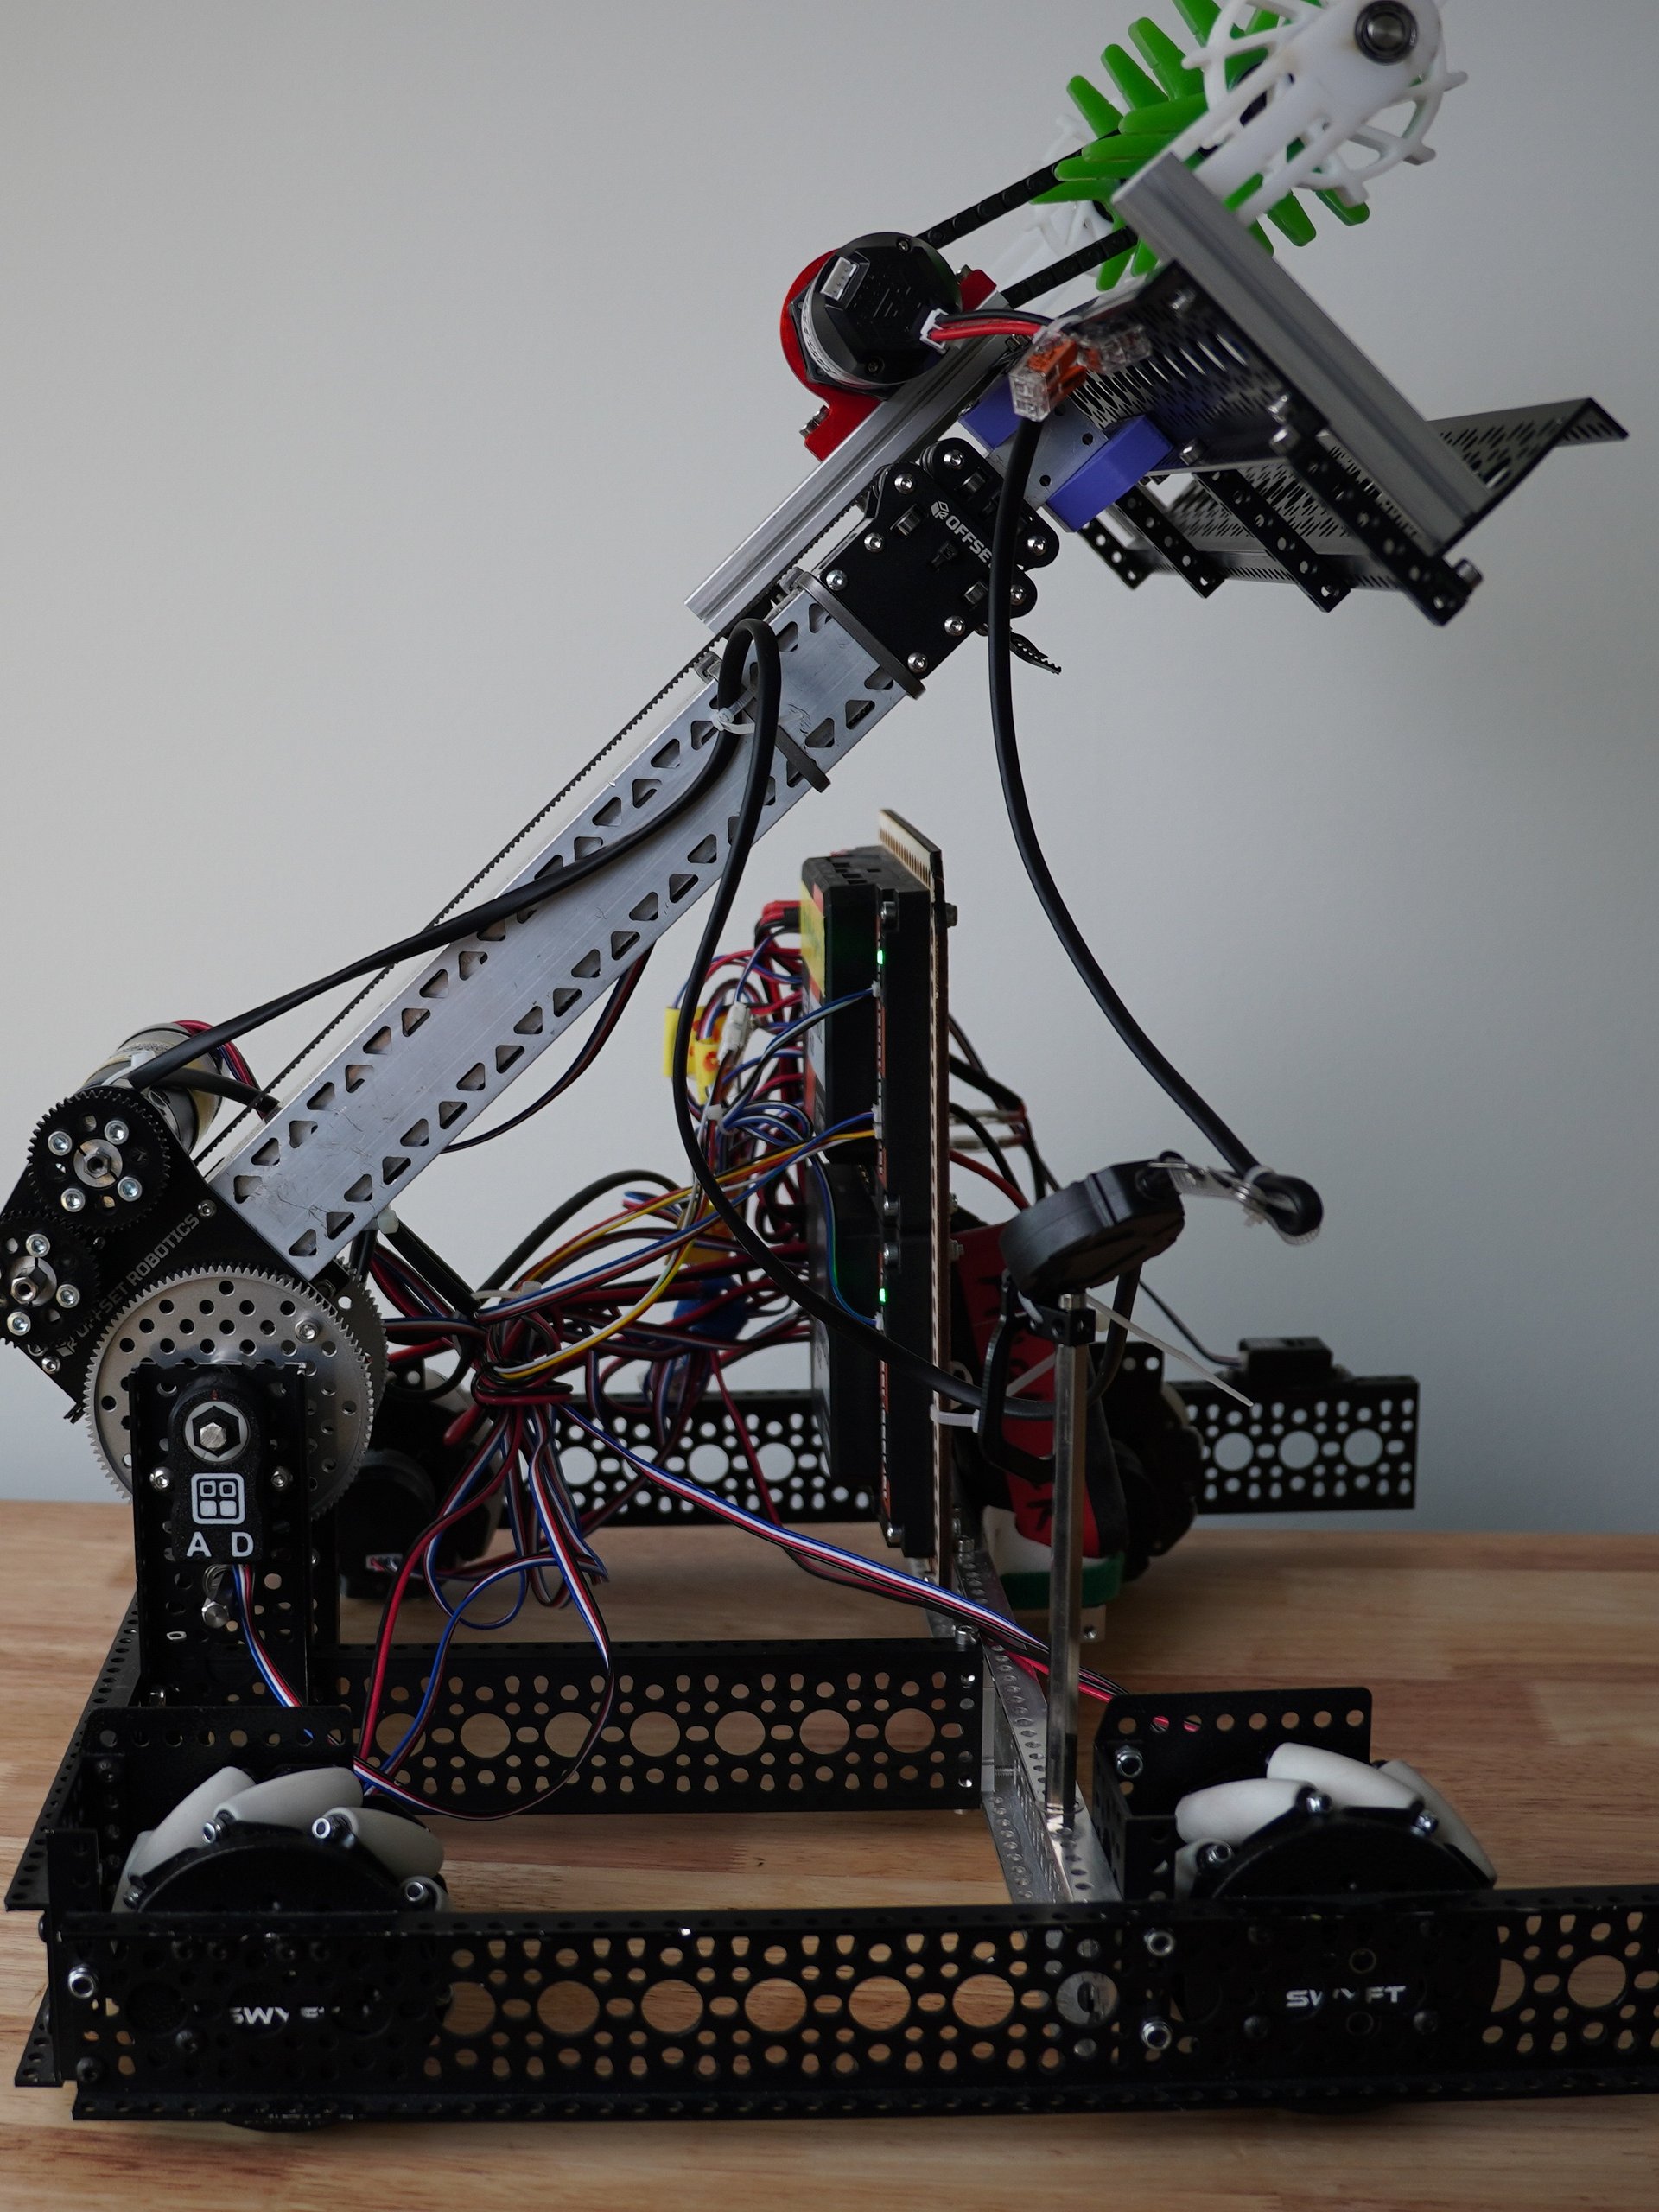
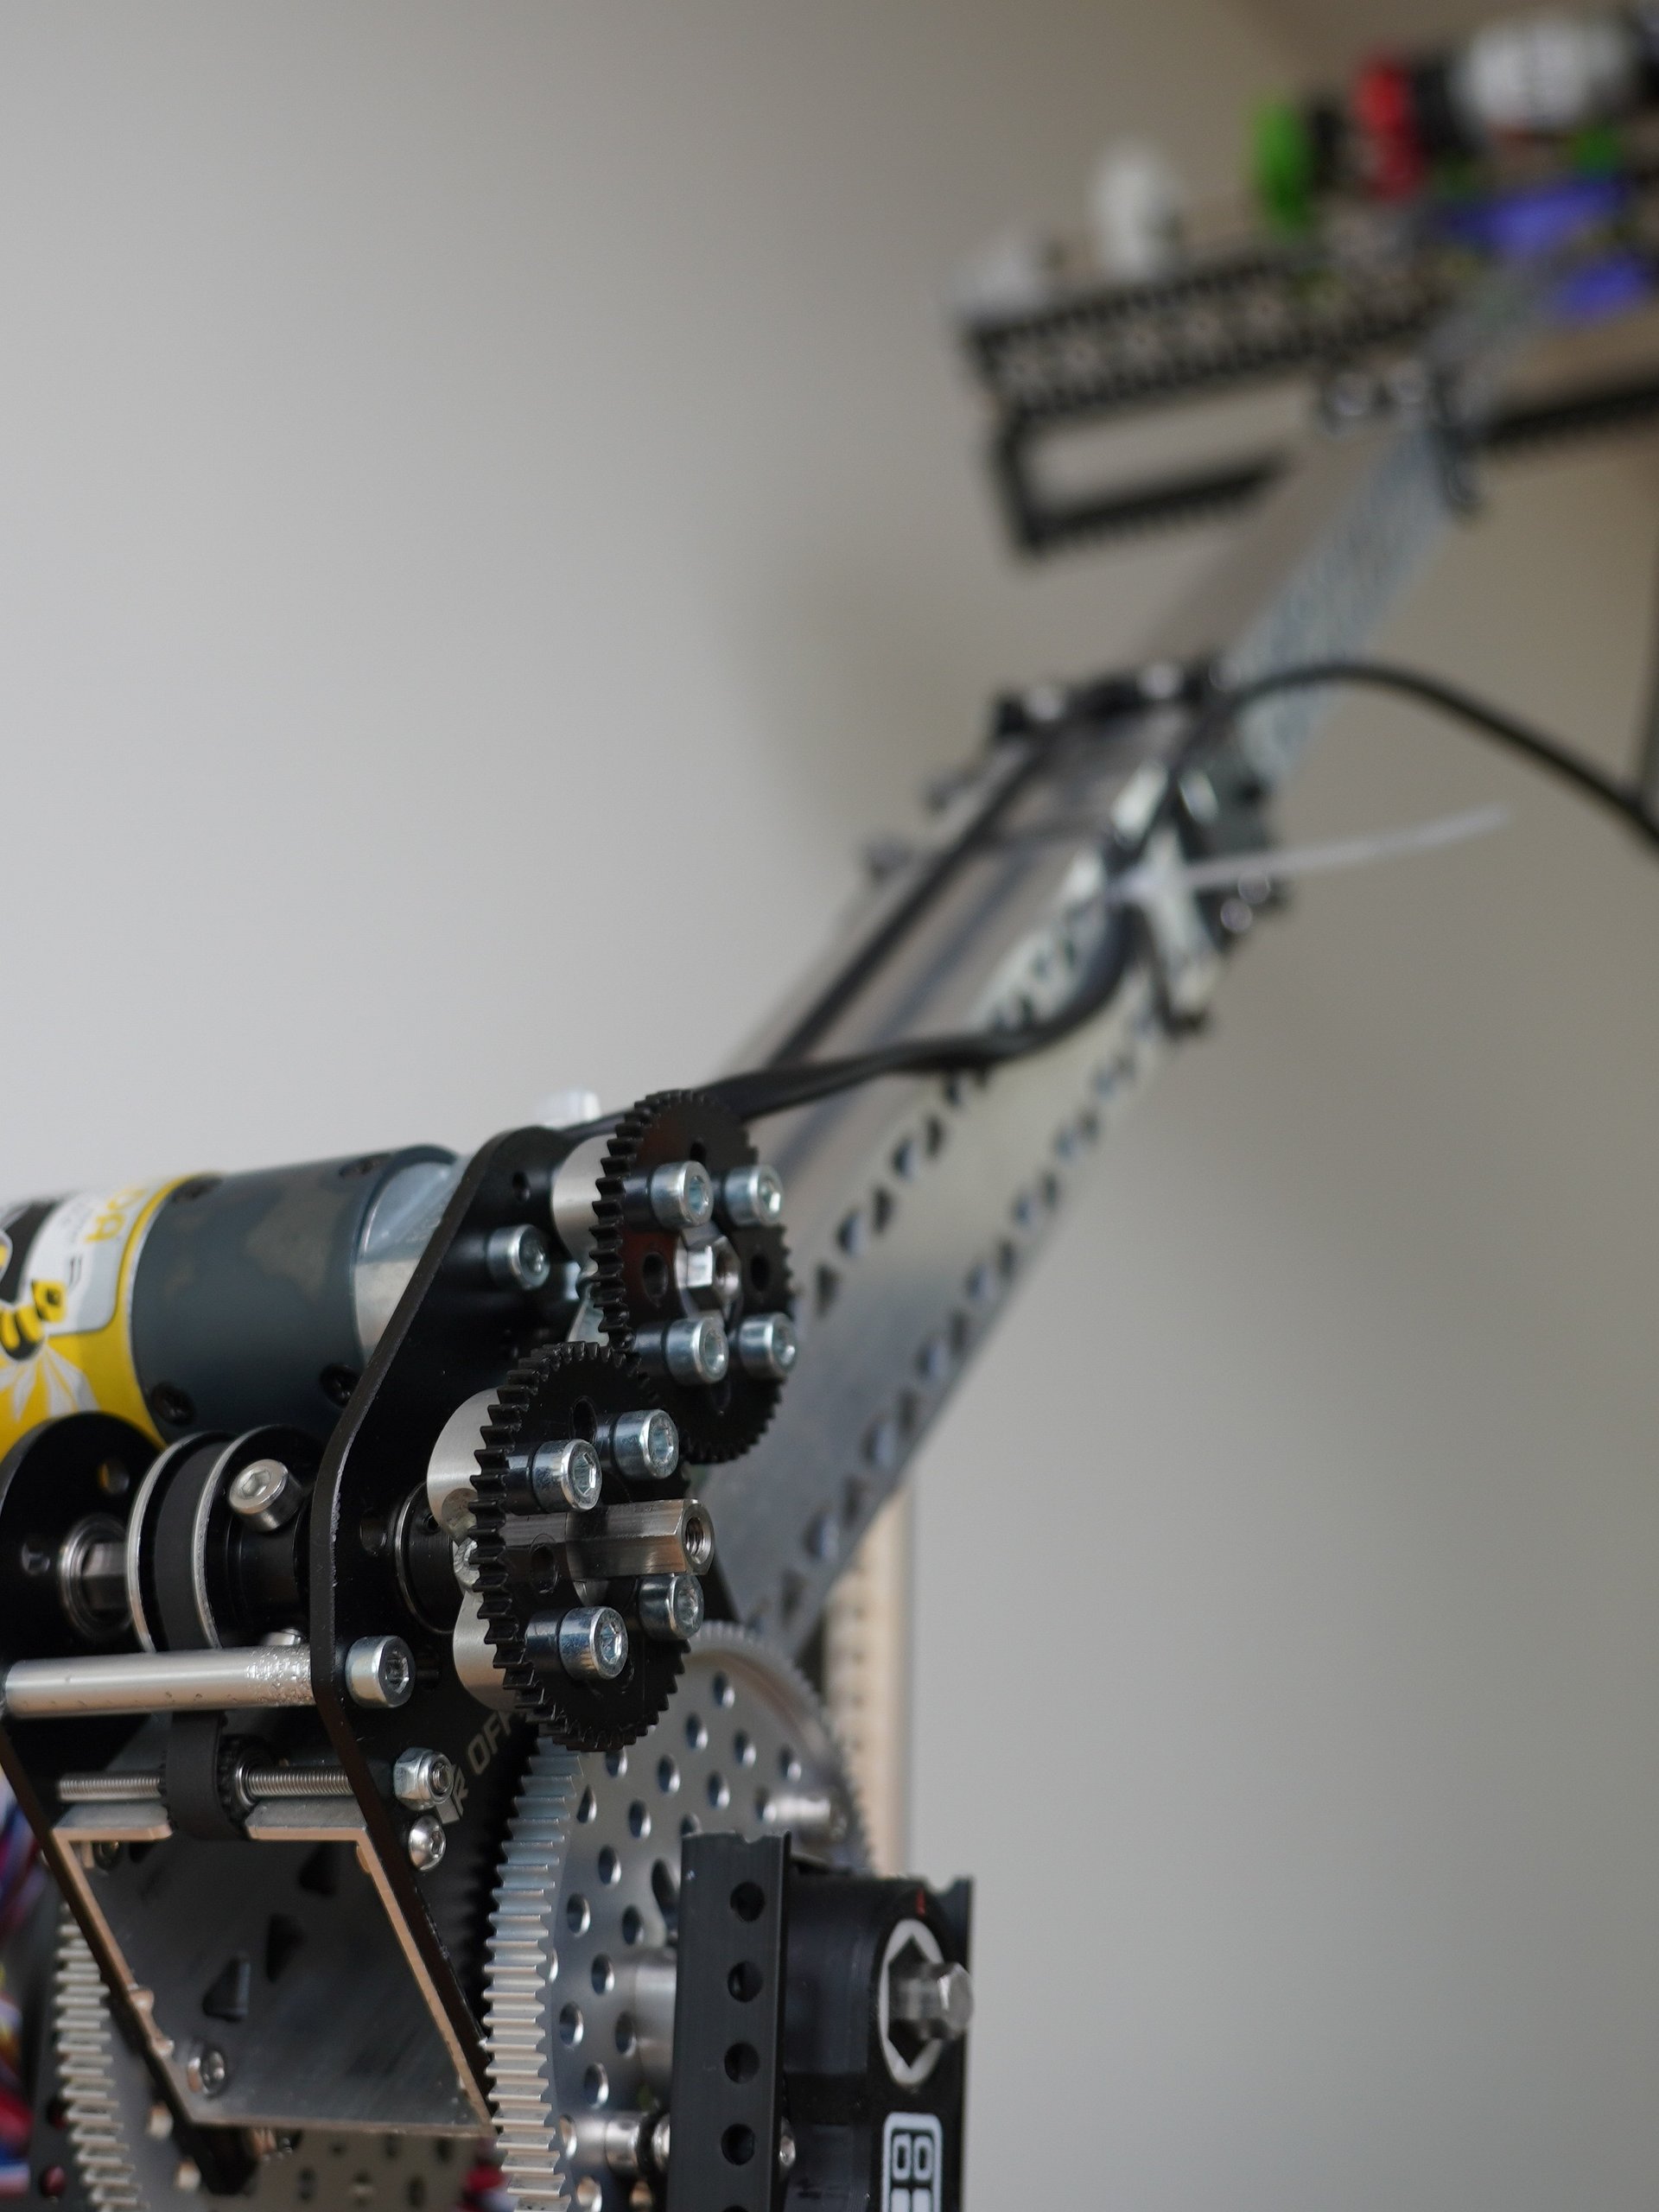
A working example of PIDF gravity feedforward control for a pivoting arm. Shows how to home the arm off a magnetic limit switch, read an external through bore encoder, and hold the arm steady at any angle.
What's included:
- 2x Java classes: 1 mechanism class, 1 teleop class
- Magnetic Limit switch homing at arm rest position
- Through bore encoder for angle tracking
- Gravity feedforward (kG) to hold the arm at any angle instead of drooping
Best for: Students, hobbyists, and teams (FTC or otherwise) who want to see gravity feedforward and limit switch homing actually working in code, rather than just reading about the theory.
Written for the REV Robotics Control Hub, adaptable to other platforms.
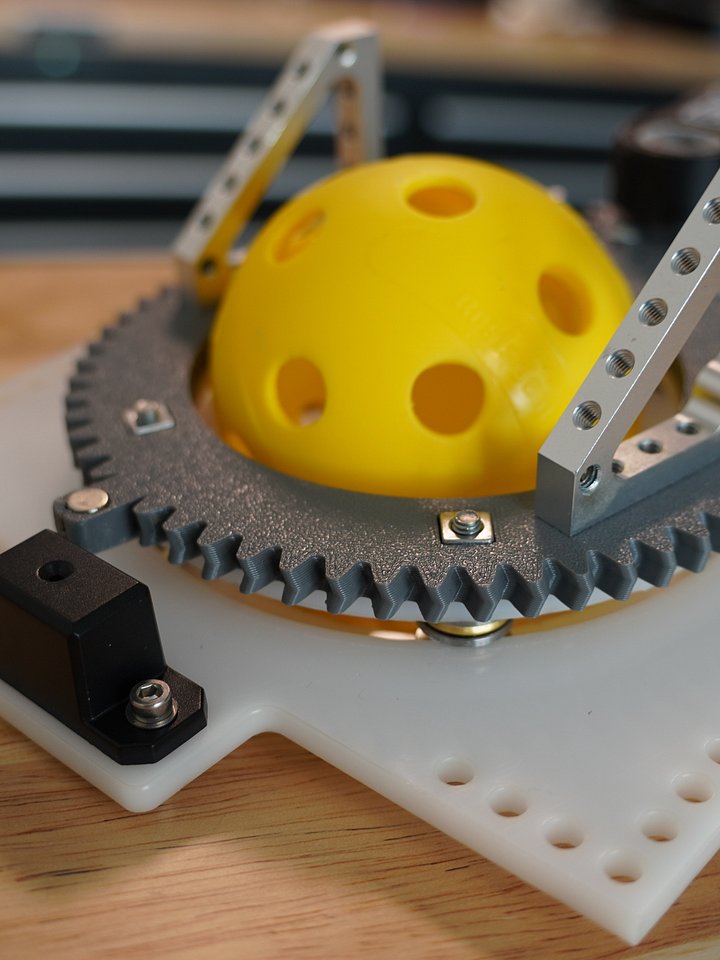
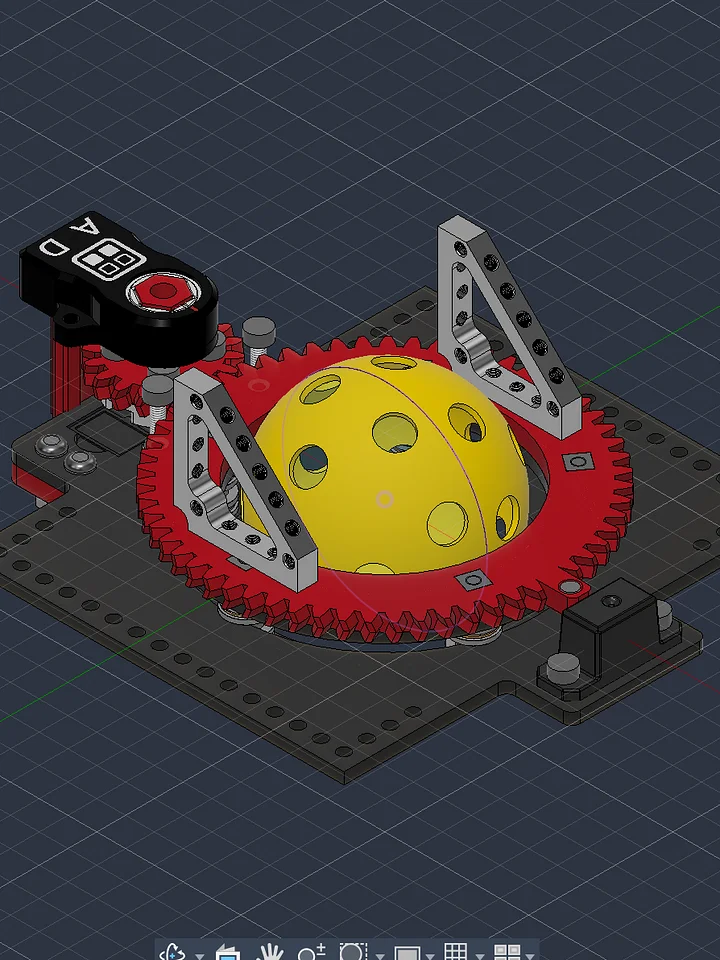
Want the robot this was built for & CAD files? Check out the Pivoting Arm + Telescopic Elevator CAD.
Accessing STEP Files
STEP files are uploaded in a .zip folder. You must first unzip the folder in order to import the file into your CAD program of choice.
Autodesk Fusion 360
-
After unzipping the downloaded folder, open Fusion 360.
-
Click the "Show Data Panel" icon in the upper-left corner (it looks like a grid/waffle).
-
Navigate to your desired project and folder.
-
Click the "Upload" button.
-
Select the .step or .stp file from your computer and click "Open."
-
Once the upload is complete, the file will appear in your Data Panel, ready to be inserted into your design.
Onshape
-
After unzipping the downloaded folder, log in to your Onshape account.
-
From the "Documents" page, click the "Create" button and select "Import files...".
-
Alternatively, inside an existing document, click the "+" icon in the bottom-left corner and select "Import."
-
Select the .step or .stp file from your computer.
-
Choose your desired import options in the dialog box.
-
The imported file will appear as a new tab in your document.
SolidWorks
-
After unzipping the downloaded folder, open SolidWorks.
-
Go to "File" > "Open."
-
In the "Open" dialog box, change the file type to "STEP files (*.step, *.stp)."
-
Navigate to and select the STEP file you wish to import.
-
Click "Open."
-
SolidWorks may prompt you to run "Import Diagnostics" to check for and fix any potential issues with the imported geometry. It is recommended to do so.
3D Printing Tips
If the design includes 3D printed parts, I highly recommend you print the part out of PCTG. It has some of the highest impact resistance and non-catastrophic breaking for robot parts.
For Mechanical/structural parts, I recommend:
- 0.6mm Nozzles over 0.4mm. Wider nozzles produce stronger prints in shorter periods of time over thinner nozzles.
- Minimum 4 walls.
- 30-40% gyroid infill