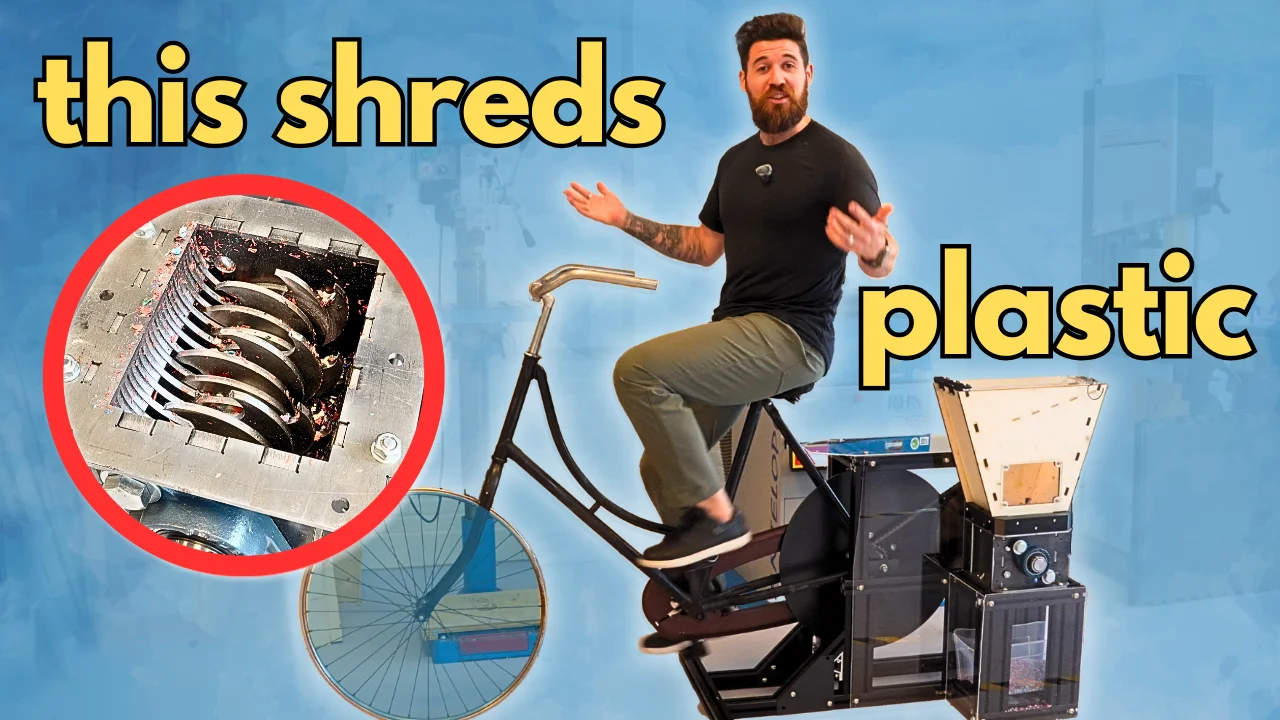
Build Your Own Bike-Powered Plastic Shredder: Complete Package
Everything you need to build your own bike-powered plastic shredder, based on the Precious Plastics 3.3 Shredder, and iterated upon the original bike shredder design out of Delft University.
Full Build Video here: https://youtu.be/ZEjSto_6X_4
What's included:
- CAD / STEP Files: The full assembly in a universal format, ready to open in Fusion 360, SolidWorks, FreeCAD, or whatever you're working in. The modifications to the base design are fully integrated.
- Bill of Materials: Every part, every spec, every quantity. Sourcing notes included, based on what we used building in the Netherlands.
Whether you're a teacher looking for a hands-on sustainability project, a maker who wants to do something real with plastic waste, or just someone who watched the video and wants to actually build the thing, this package gets you there.
Accessing STEP Files
STEP files are uploaded in a .zip folder. You must first unzip the folder in order to import the file into your CAD program of choice.
Autodesk Fusion 360
-
After unzipping the downloaded folder, open Fusion 360.
-
Click the "Show Data Panel" icon in the upper-left corner (it looks like a grid/waffle).
-
Navigate to your desired project and folder.
-
Click the "Upload" button.
-
Select the .step or .stp file from your computer and click "Open."
-
Once the upload is complete, the file will appear in your Data Panel, ready to be inserted into your design.
Onshape
-
After unzipping the downloaded folder, log in to your Onshape account.
-
From the "Documents" page, click the "Create" button and select "Import files...".
-
Alternatively, inside an existing document, click the "+" icon in the bottom-left corner and select "Import."
-
Select the .step or .stp file from your computer.
-
Choose your desired import options in the dialog box.
-
The imported file will appear as a new tab in your document.
SolidWorks
-
After unzipping the downloaded folder, open SolidWorks.
-
Go to "File" > "Open."
-
In the "Open" dialog box, change the file type to "STEP files (*.step, *.stp)."
-
Navigate to and select the STEP file you wish to import.
-
Click "Open."
-
SolidWorks may prompt you to run "Import Diagnostics" to check for and fix any potential issues with the imported geometry. It is recommended to do so.
3D Printing Tips
If the design includes 3D printed parts, I highly recommend you print the part out of PCTG. It has some of the highest impact resistance and non-catastrophic breaking for robot parts.
For Mechanical/structural parts, I recommend:
- 0.6mm Nozzles over 0.4mm. Wider nozzles produce stronger prints in shorter periods of time over thinner nozzles.
- Minimum 4 walls.
- 30-40% gyroid infill